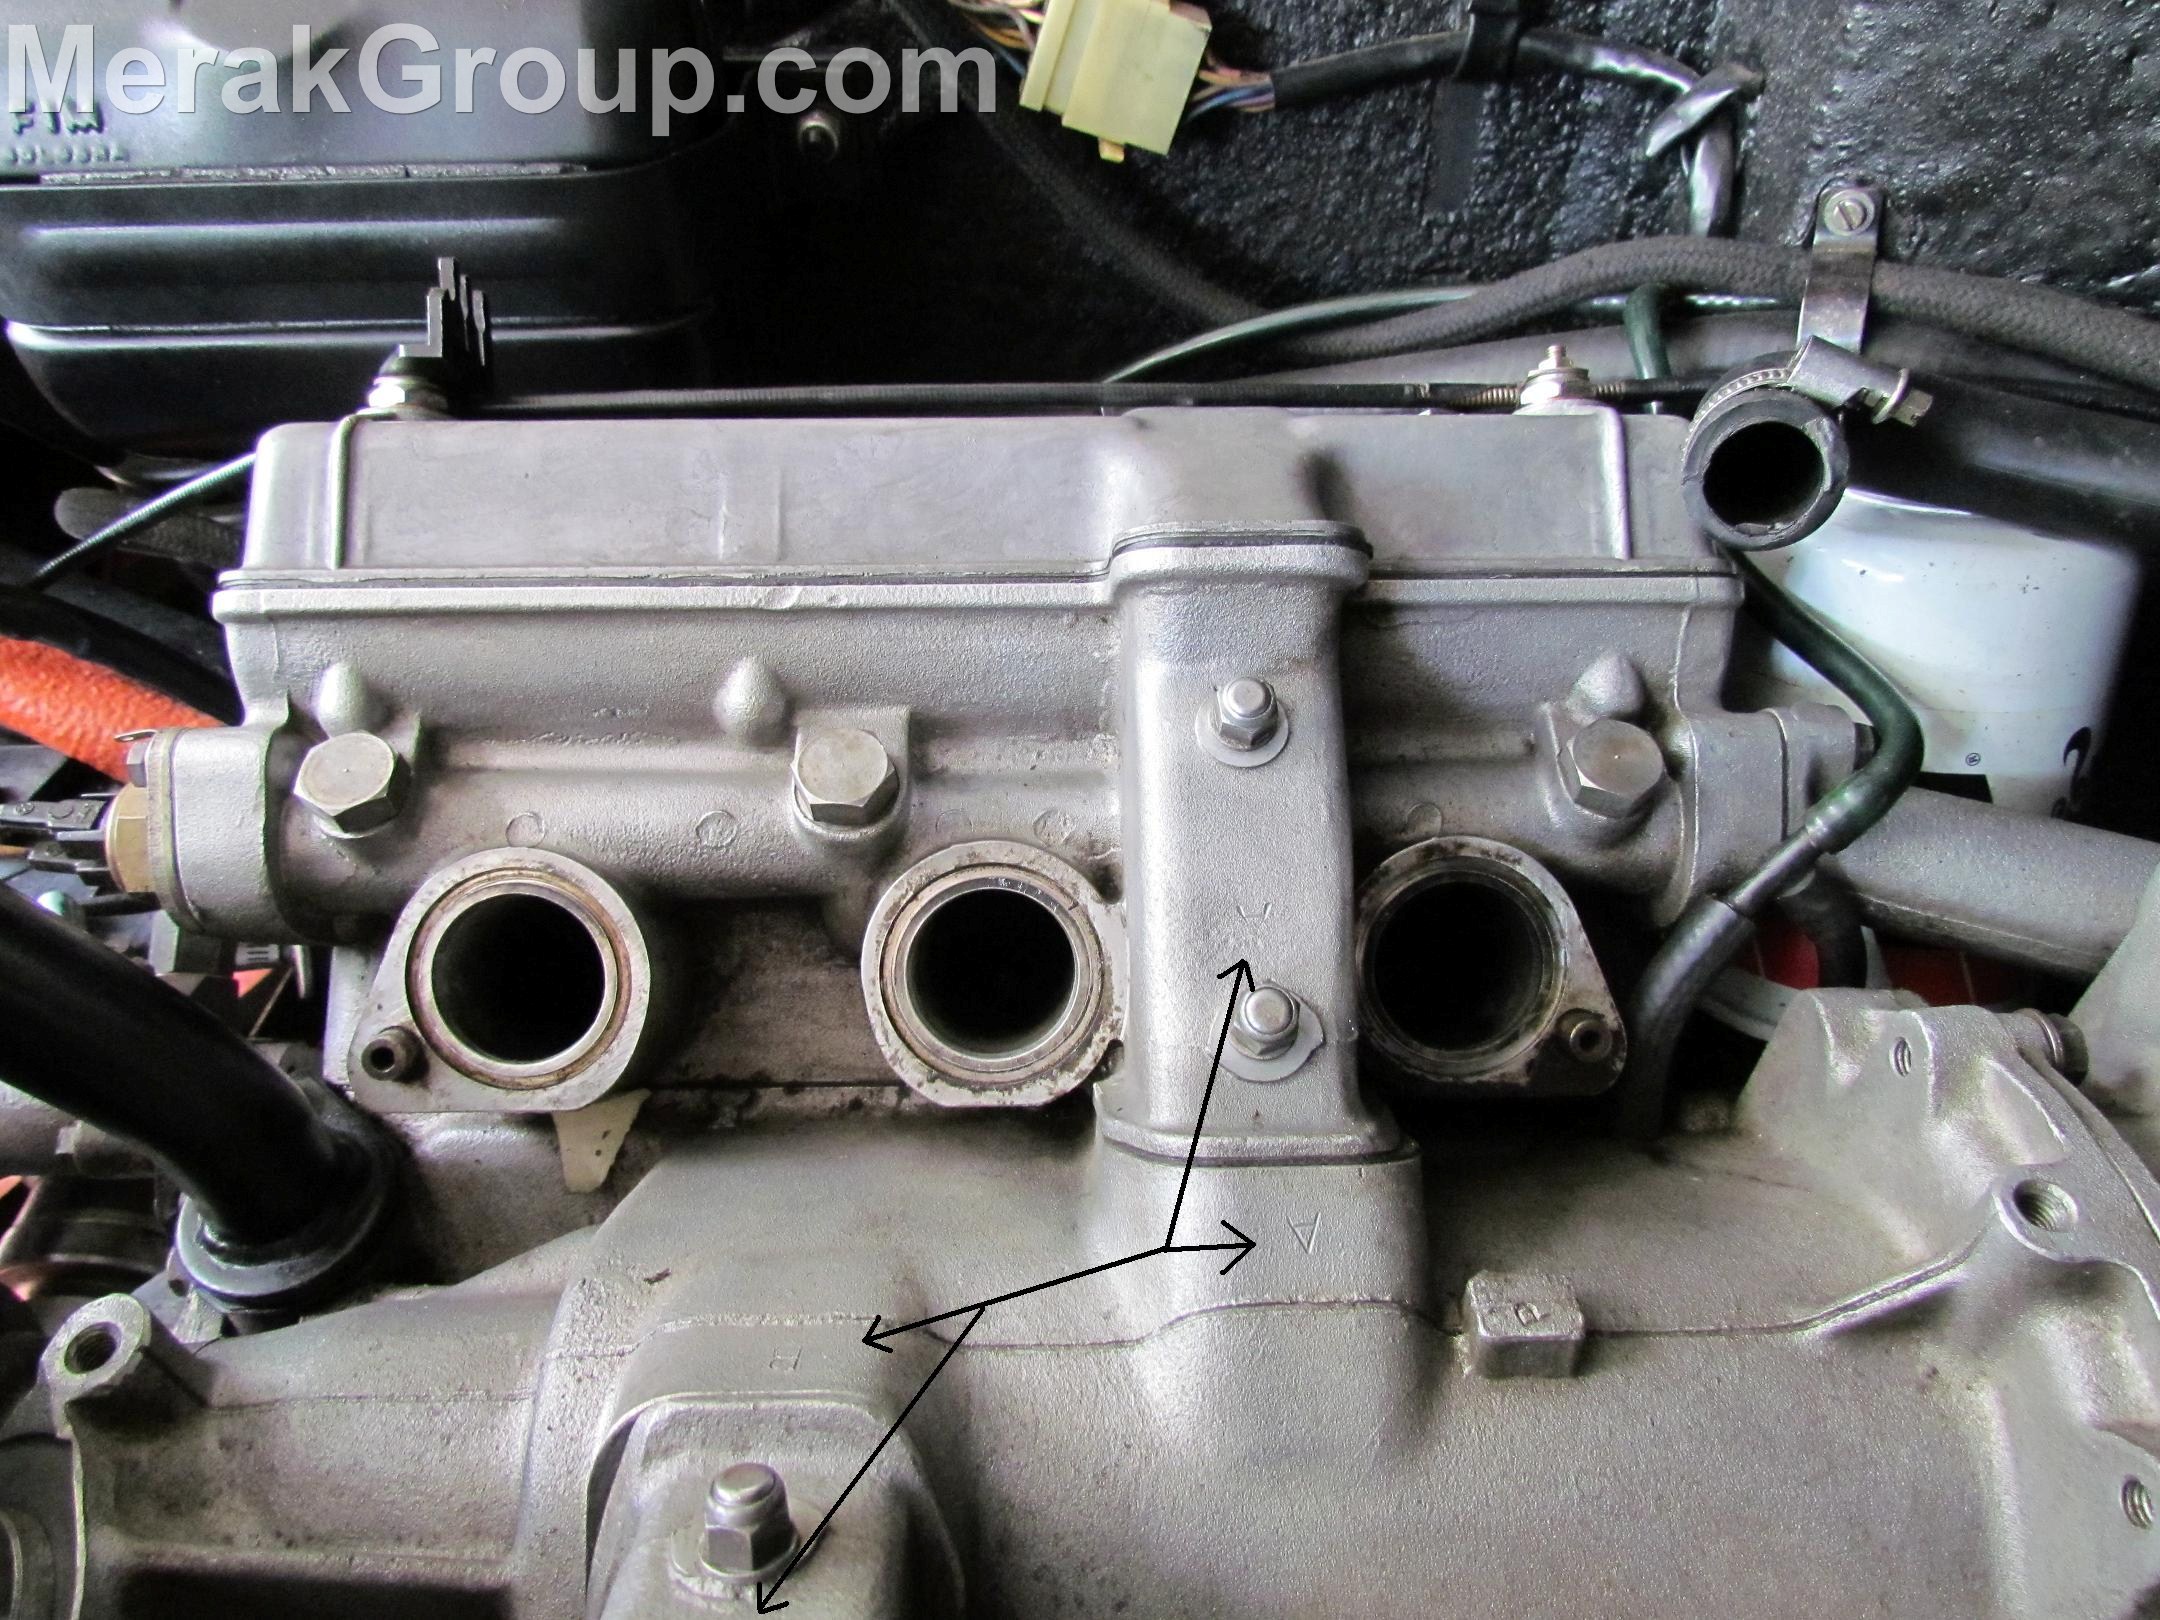
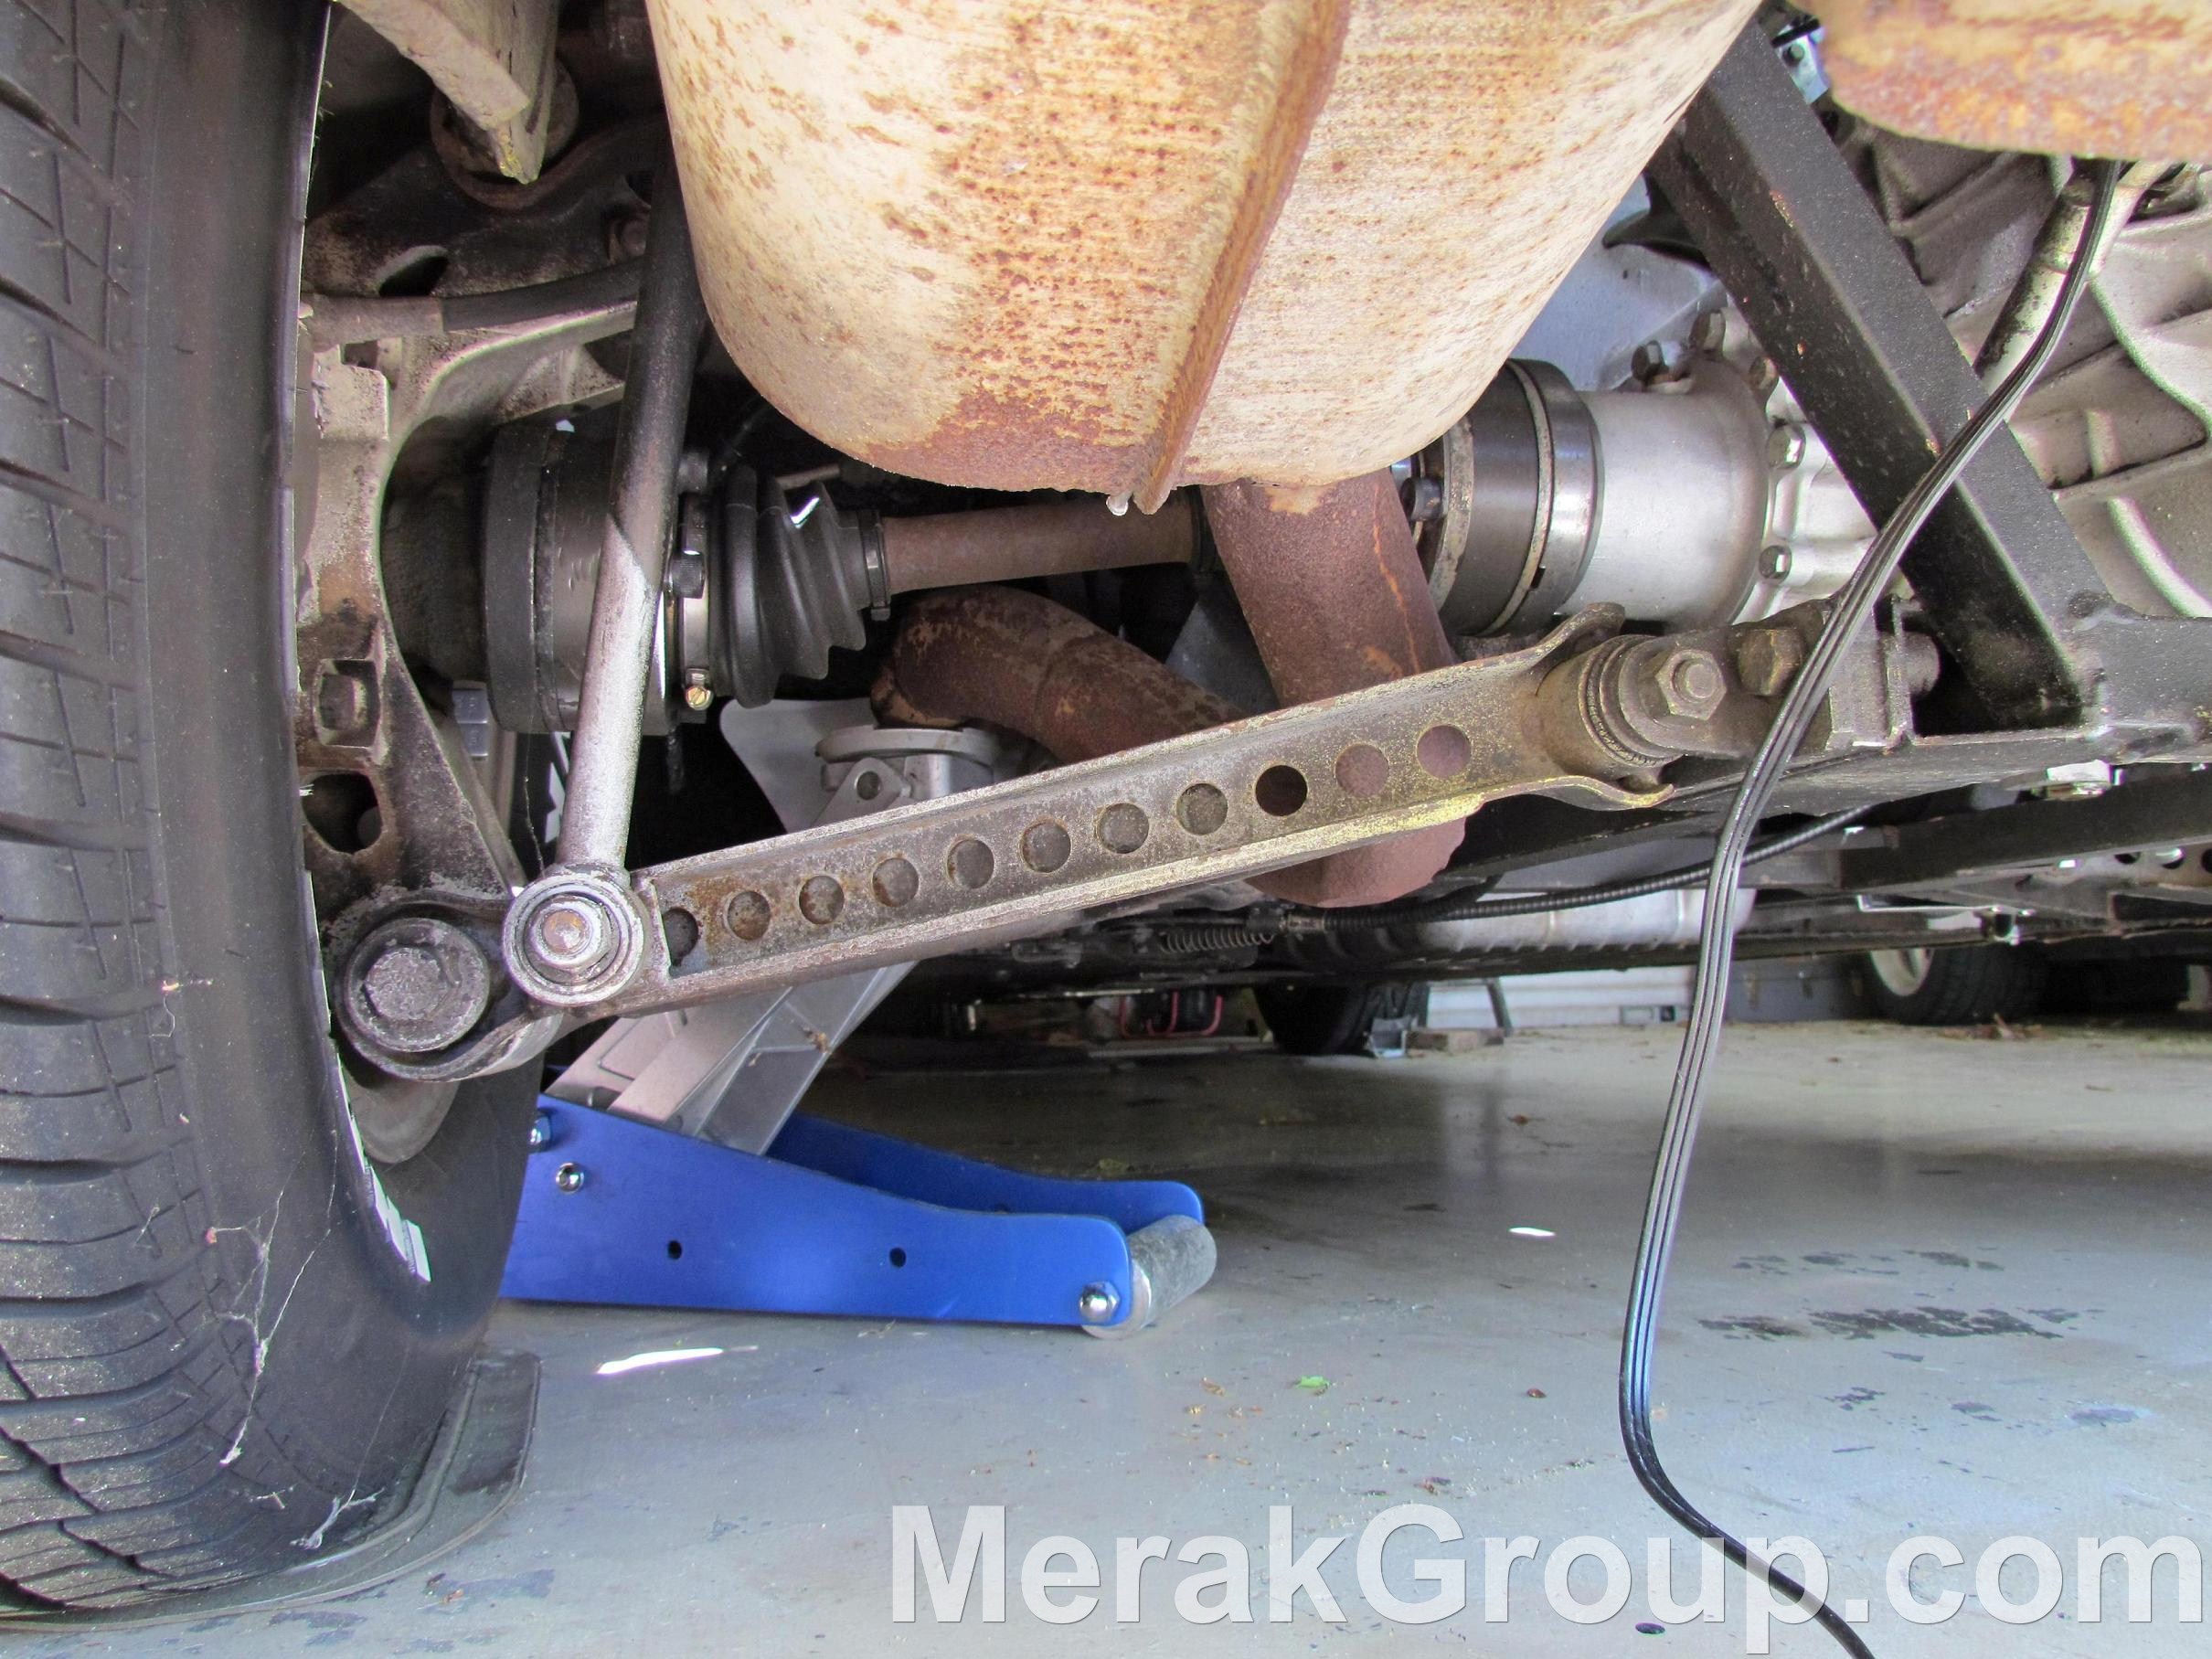
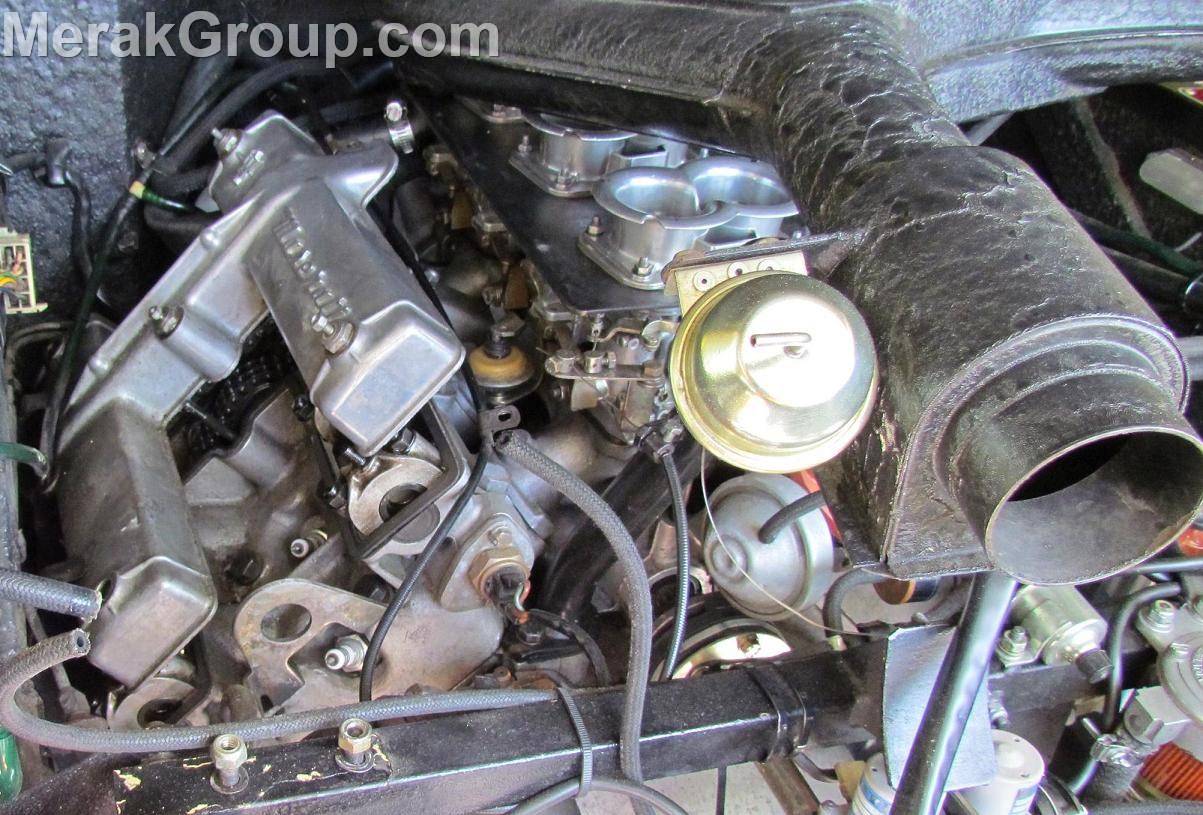
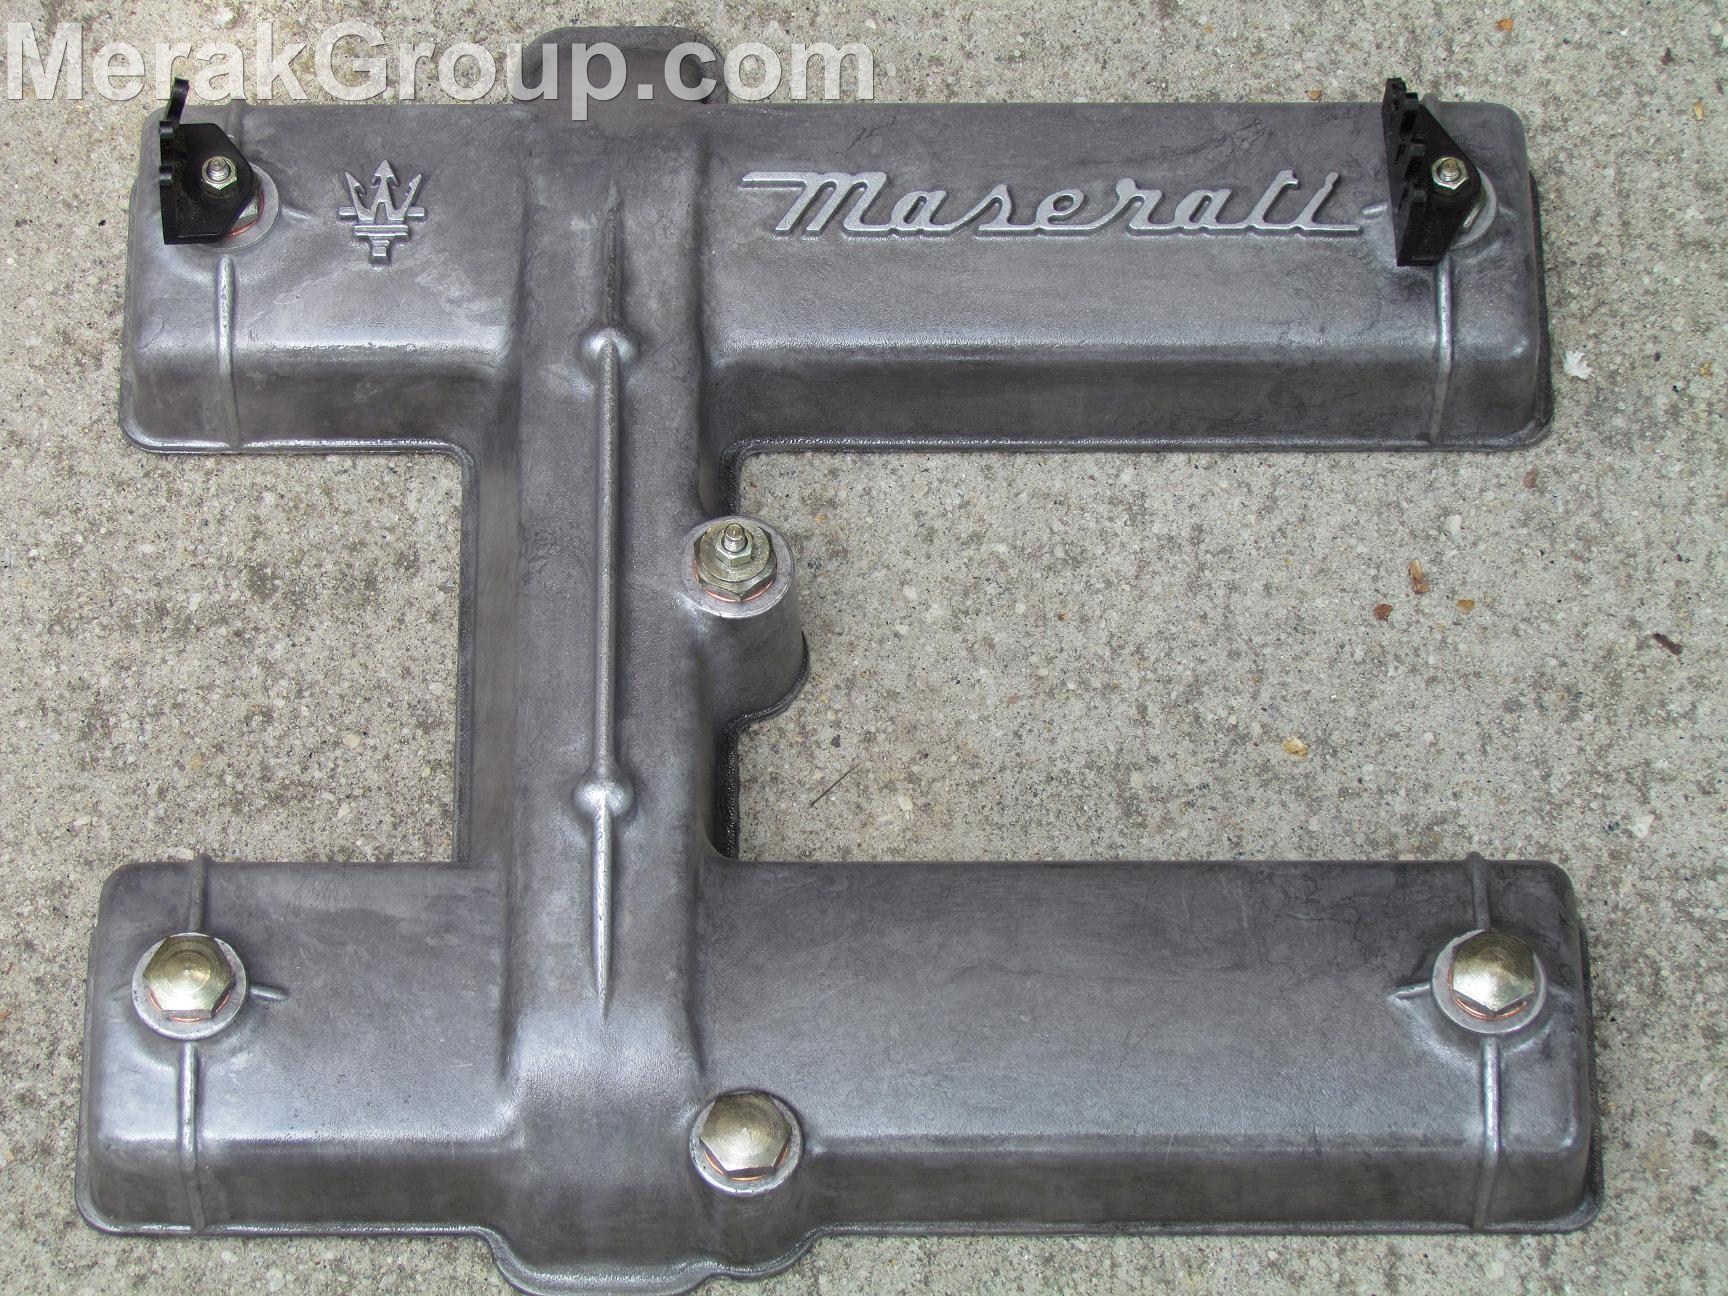
The cam shaft covers are easily removed once the engine is tilted either to one side or the other. Start by removing the coolant reservior tank. Also pull back the two fuel drip pan securing tabs/arms found overlapping the lower half of the cam cover. Next, make sure to put wheel stops in front of the front tires. Once the car is stable and secure, put the lift/jack under the left exhaust manifold under the car and lift till there is the needed clearance for removal of the left camshaft cover [Bank-A]. The banks are clearly stamped.
Under that cam shaft cover reside two cam shafts, one for the intake and one for the exhaust. Once the cam cover has been removed, lower the engine back into place and lift the car at the rear right lift point so that you will be able to rotate the wheel clockwise by hand, thereby rotating the engine in the proper direction. Take out all the spark plugs and put some old sponges in the holes so as to keep potential dirt from entering the cylinders. Also, put the gearbox select lever [gear shifter] into the 5th gear position. Both of these procedures will allow for ease of rear wheel rotation.
Bank-A [cylinders 1-2-3] camshaft chain is addressed first. When cylinder #1 piston is TDC on the exhaust stroke, the chain has the least amount of tension. It is at this reference point that tightening the chain is done.
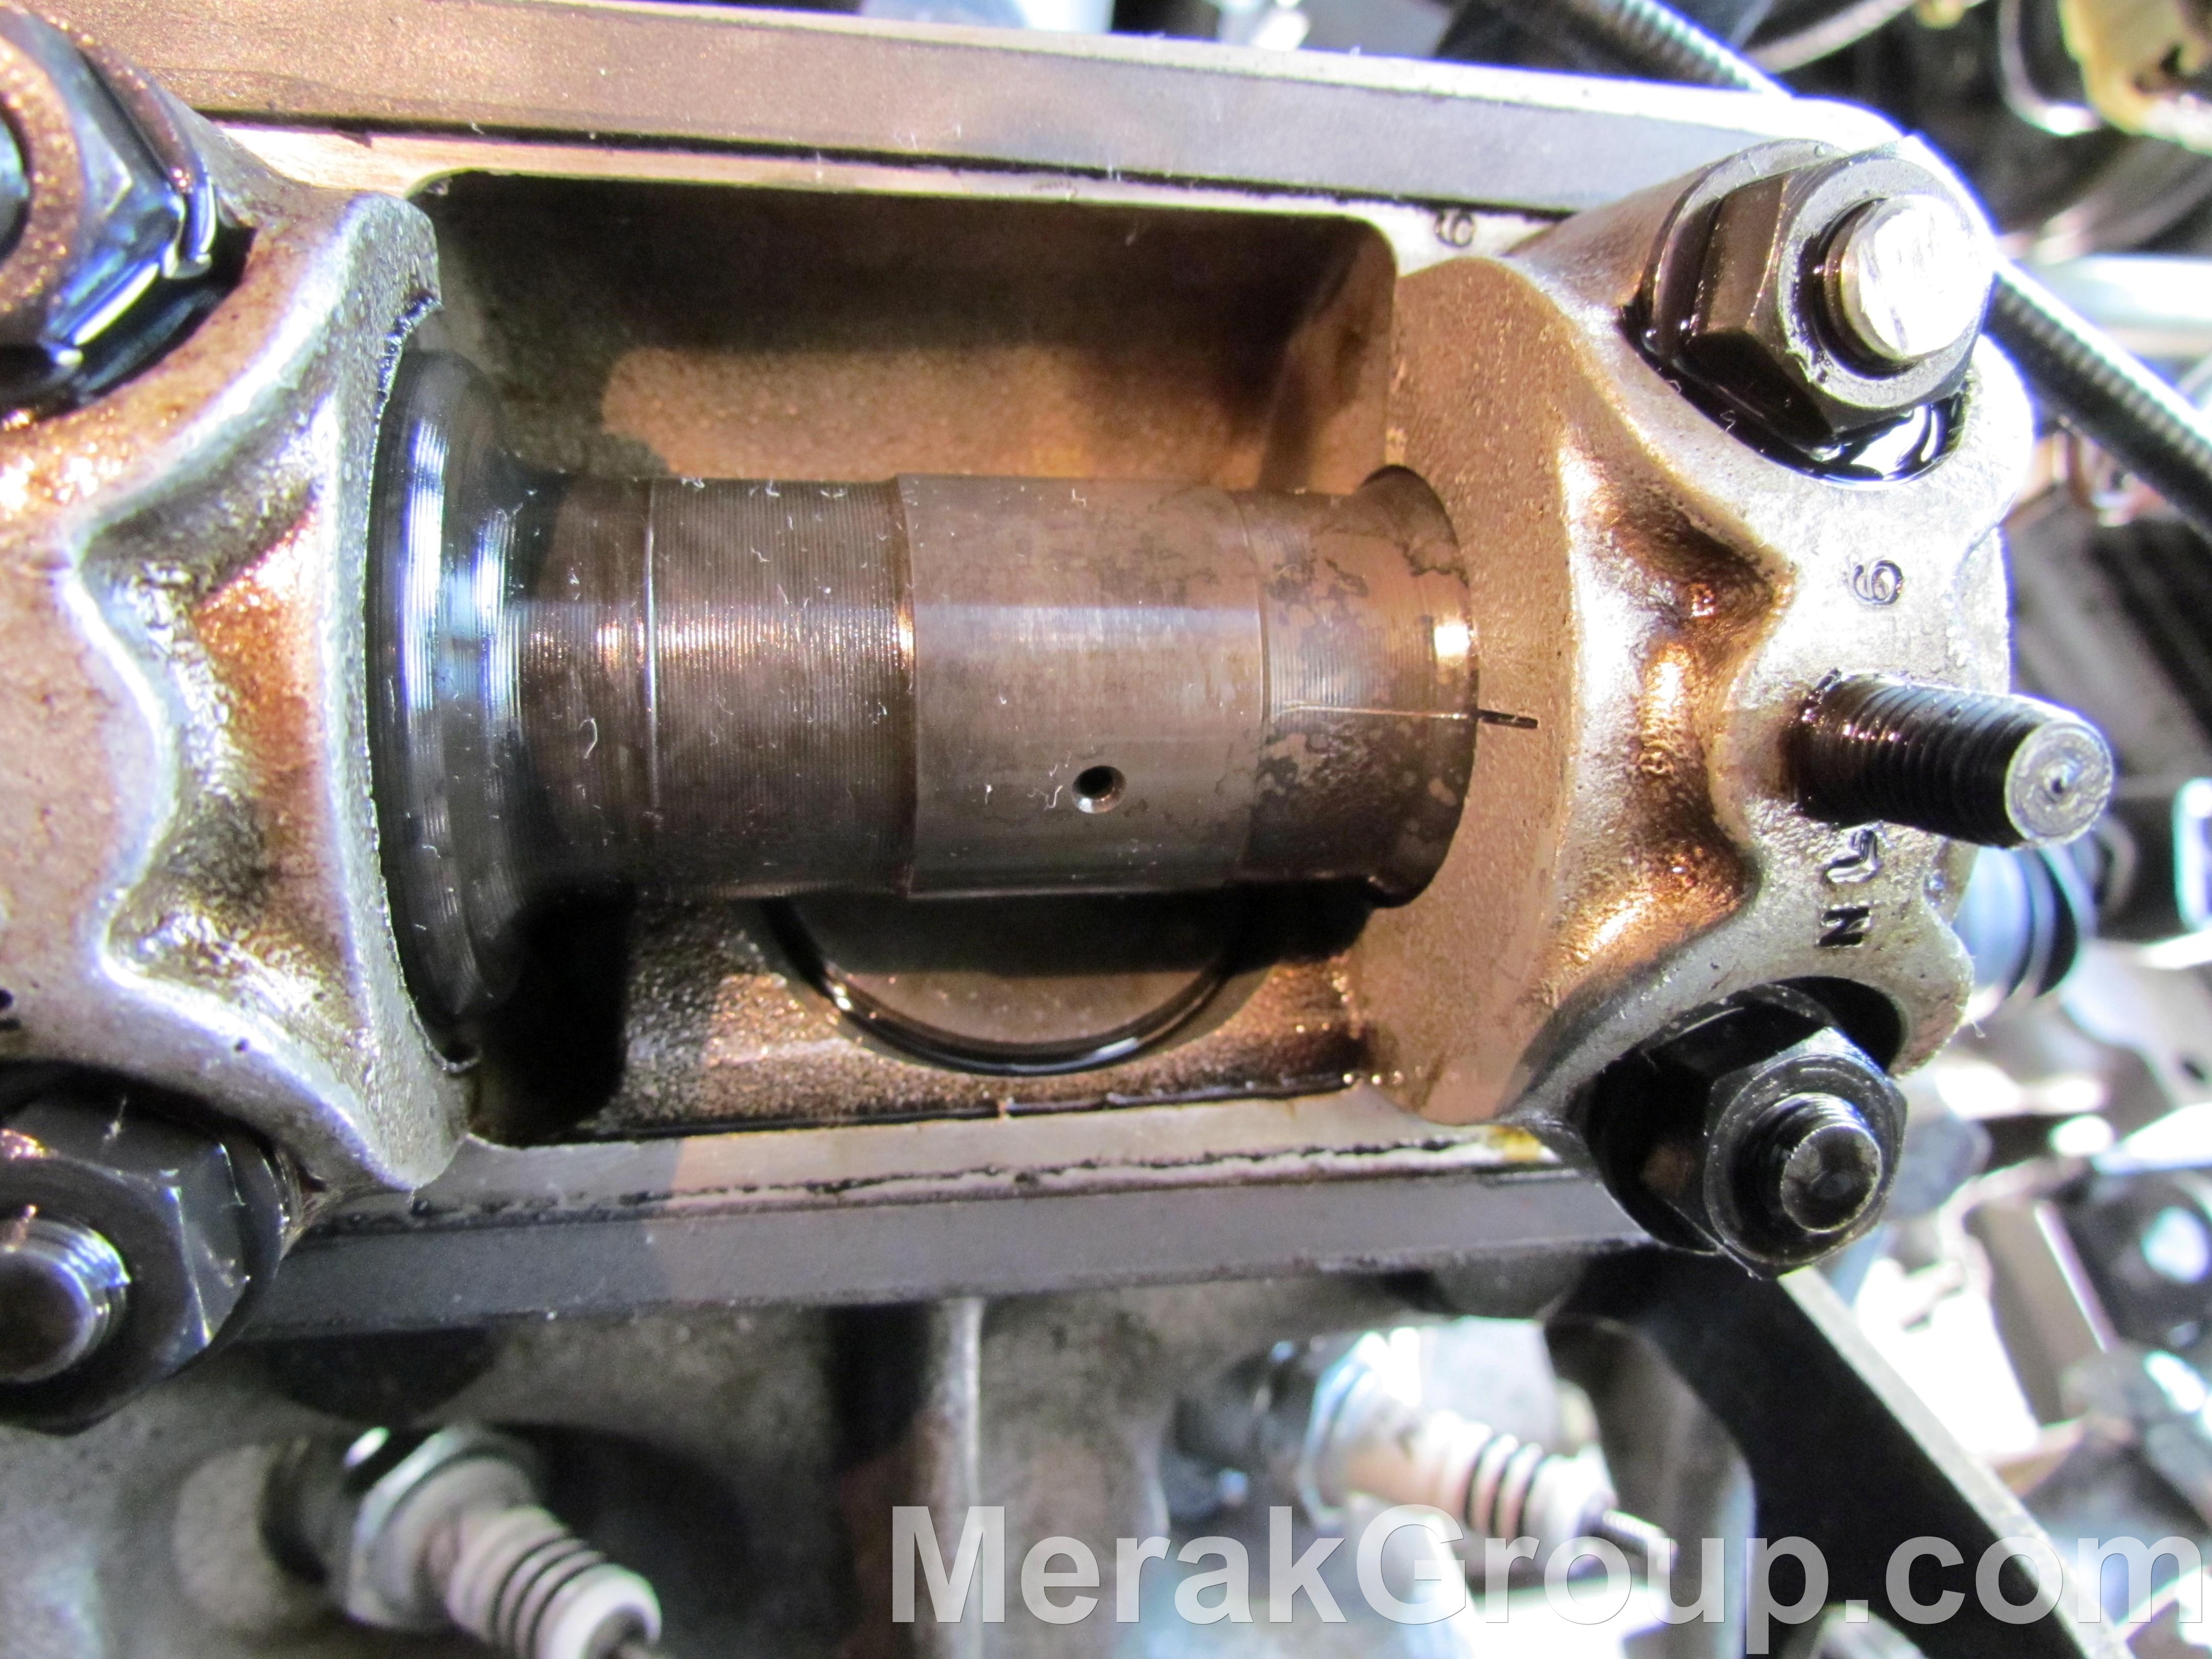
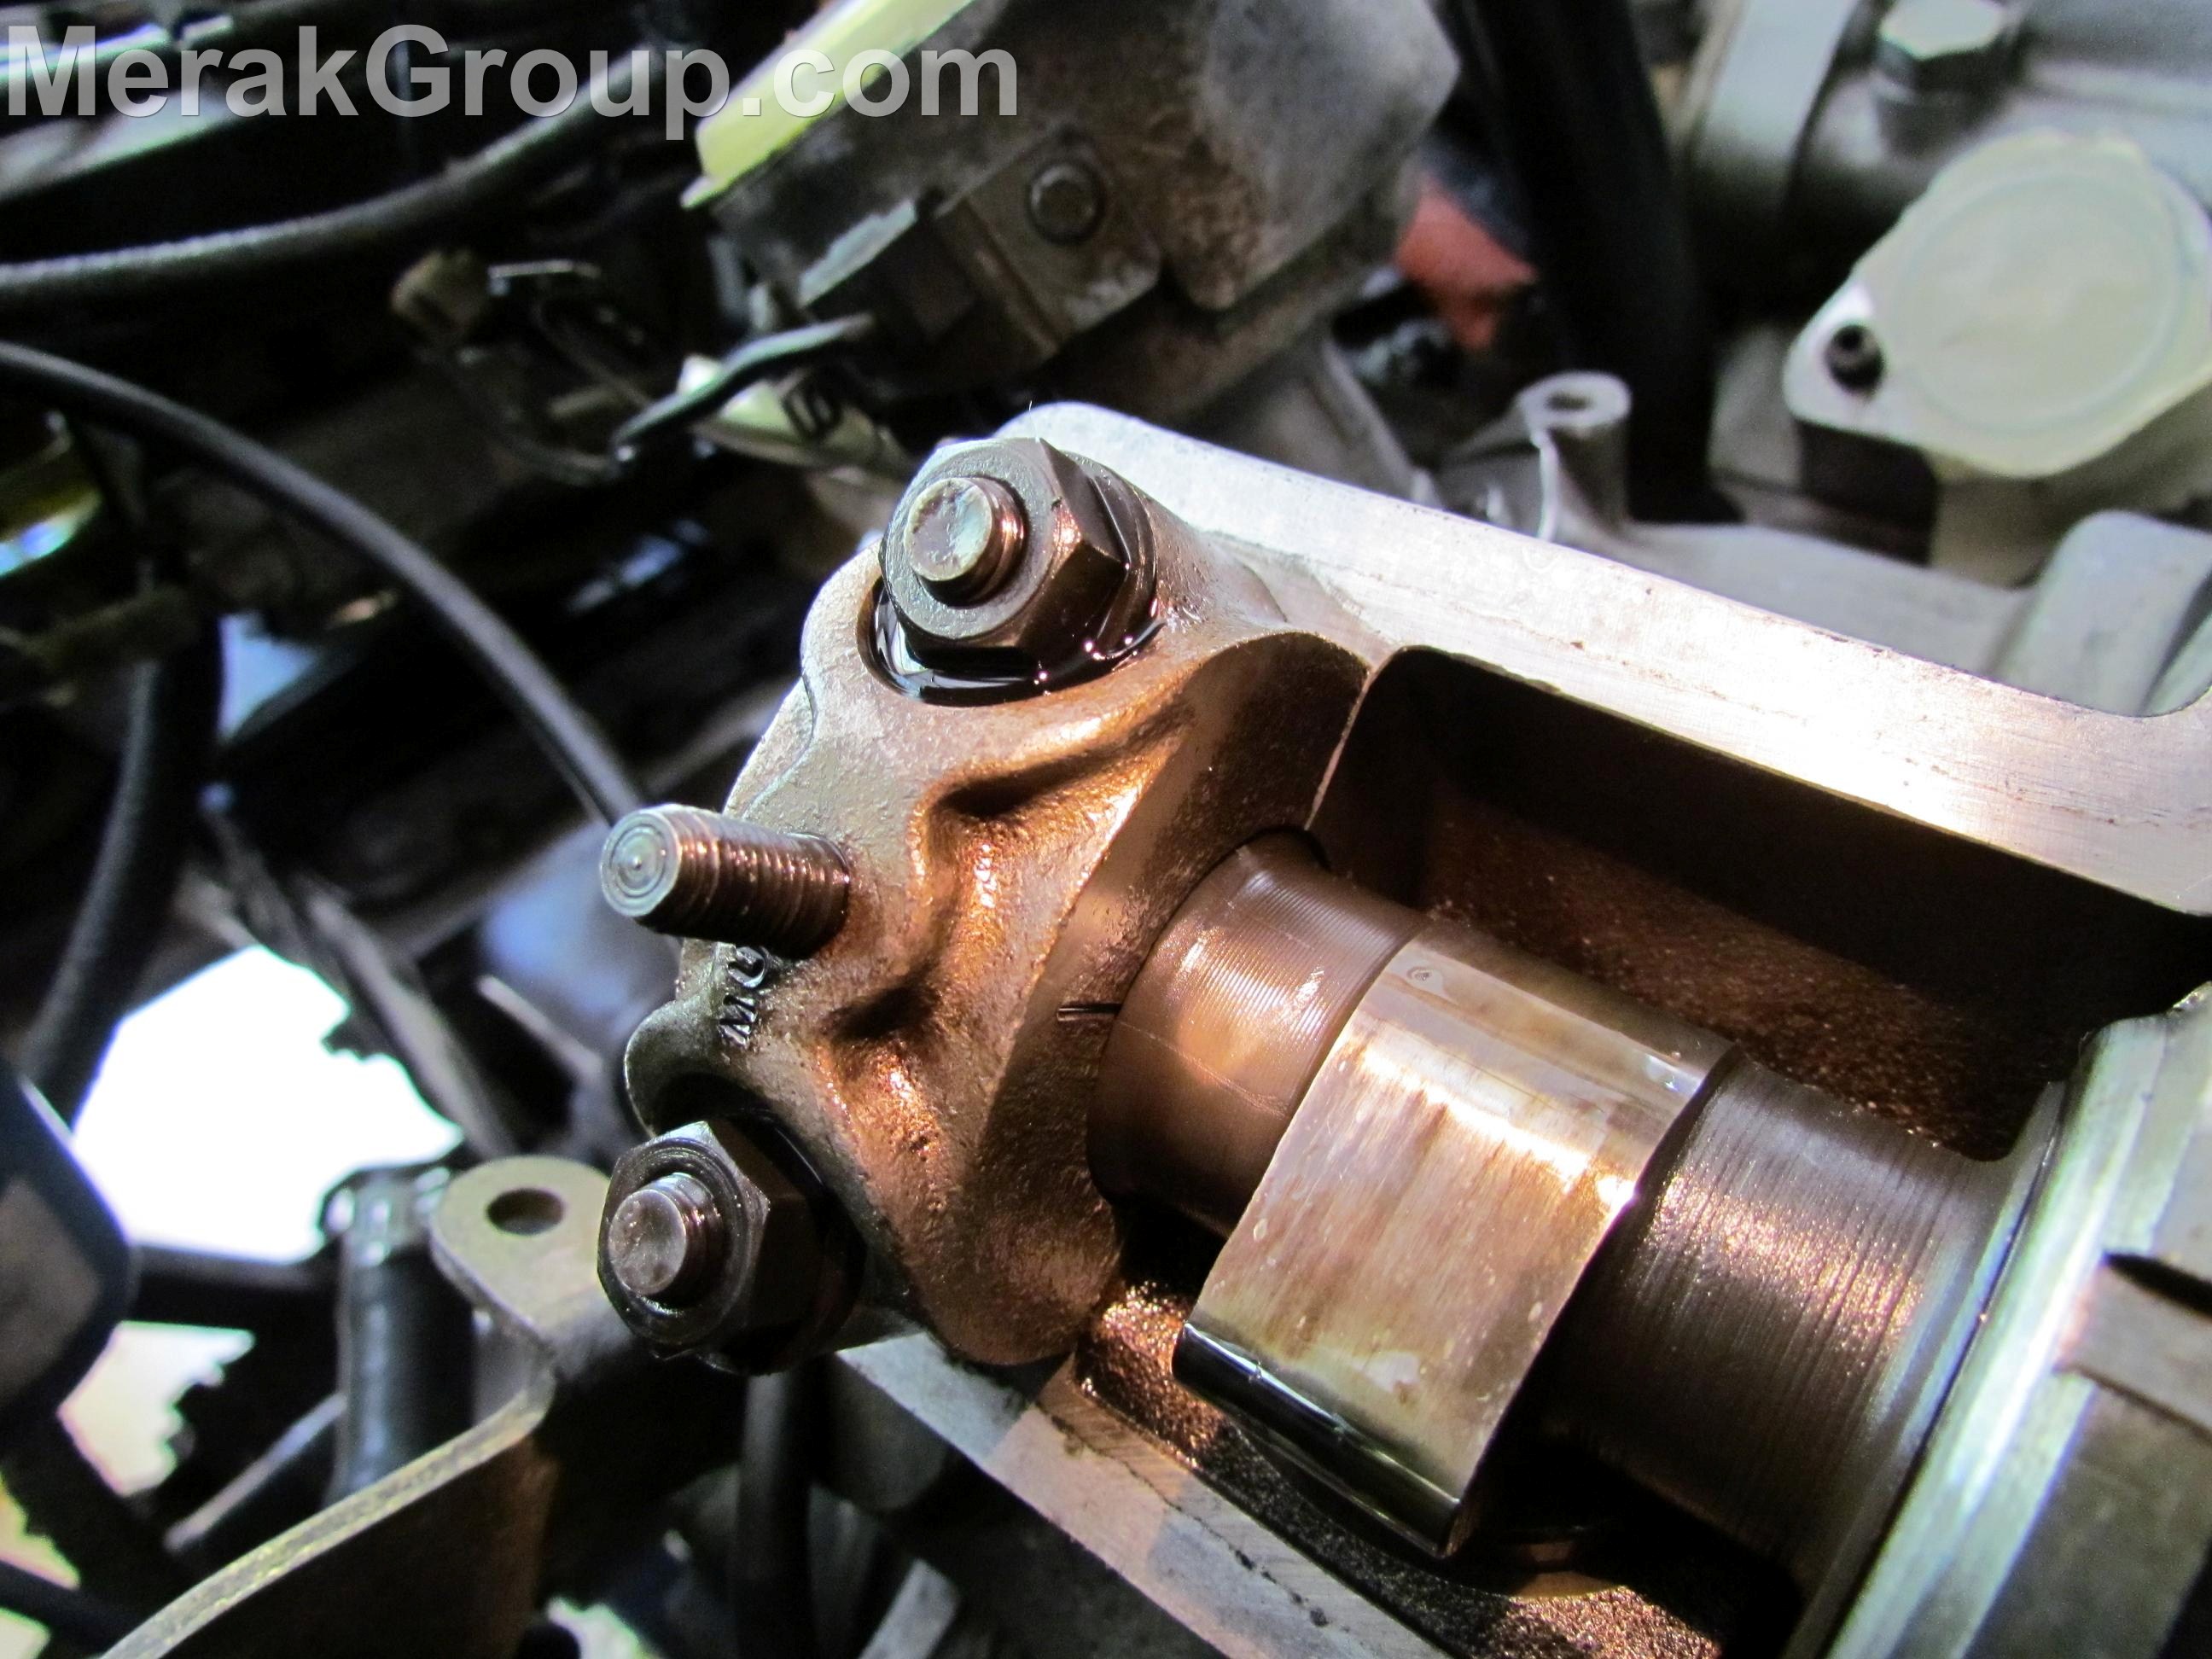
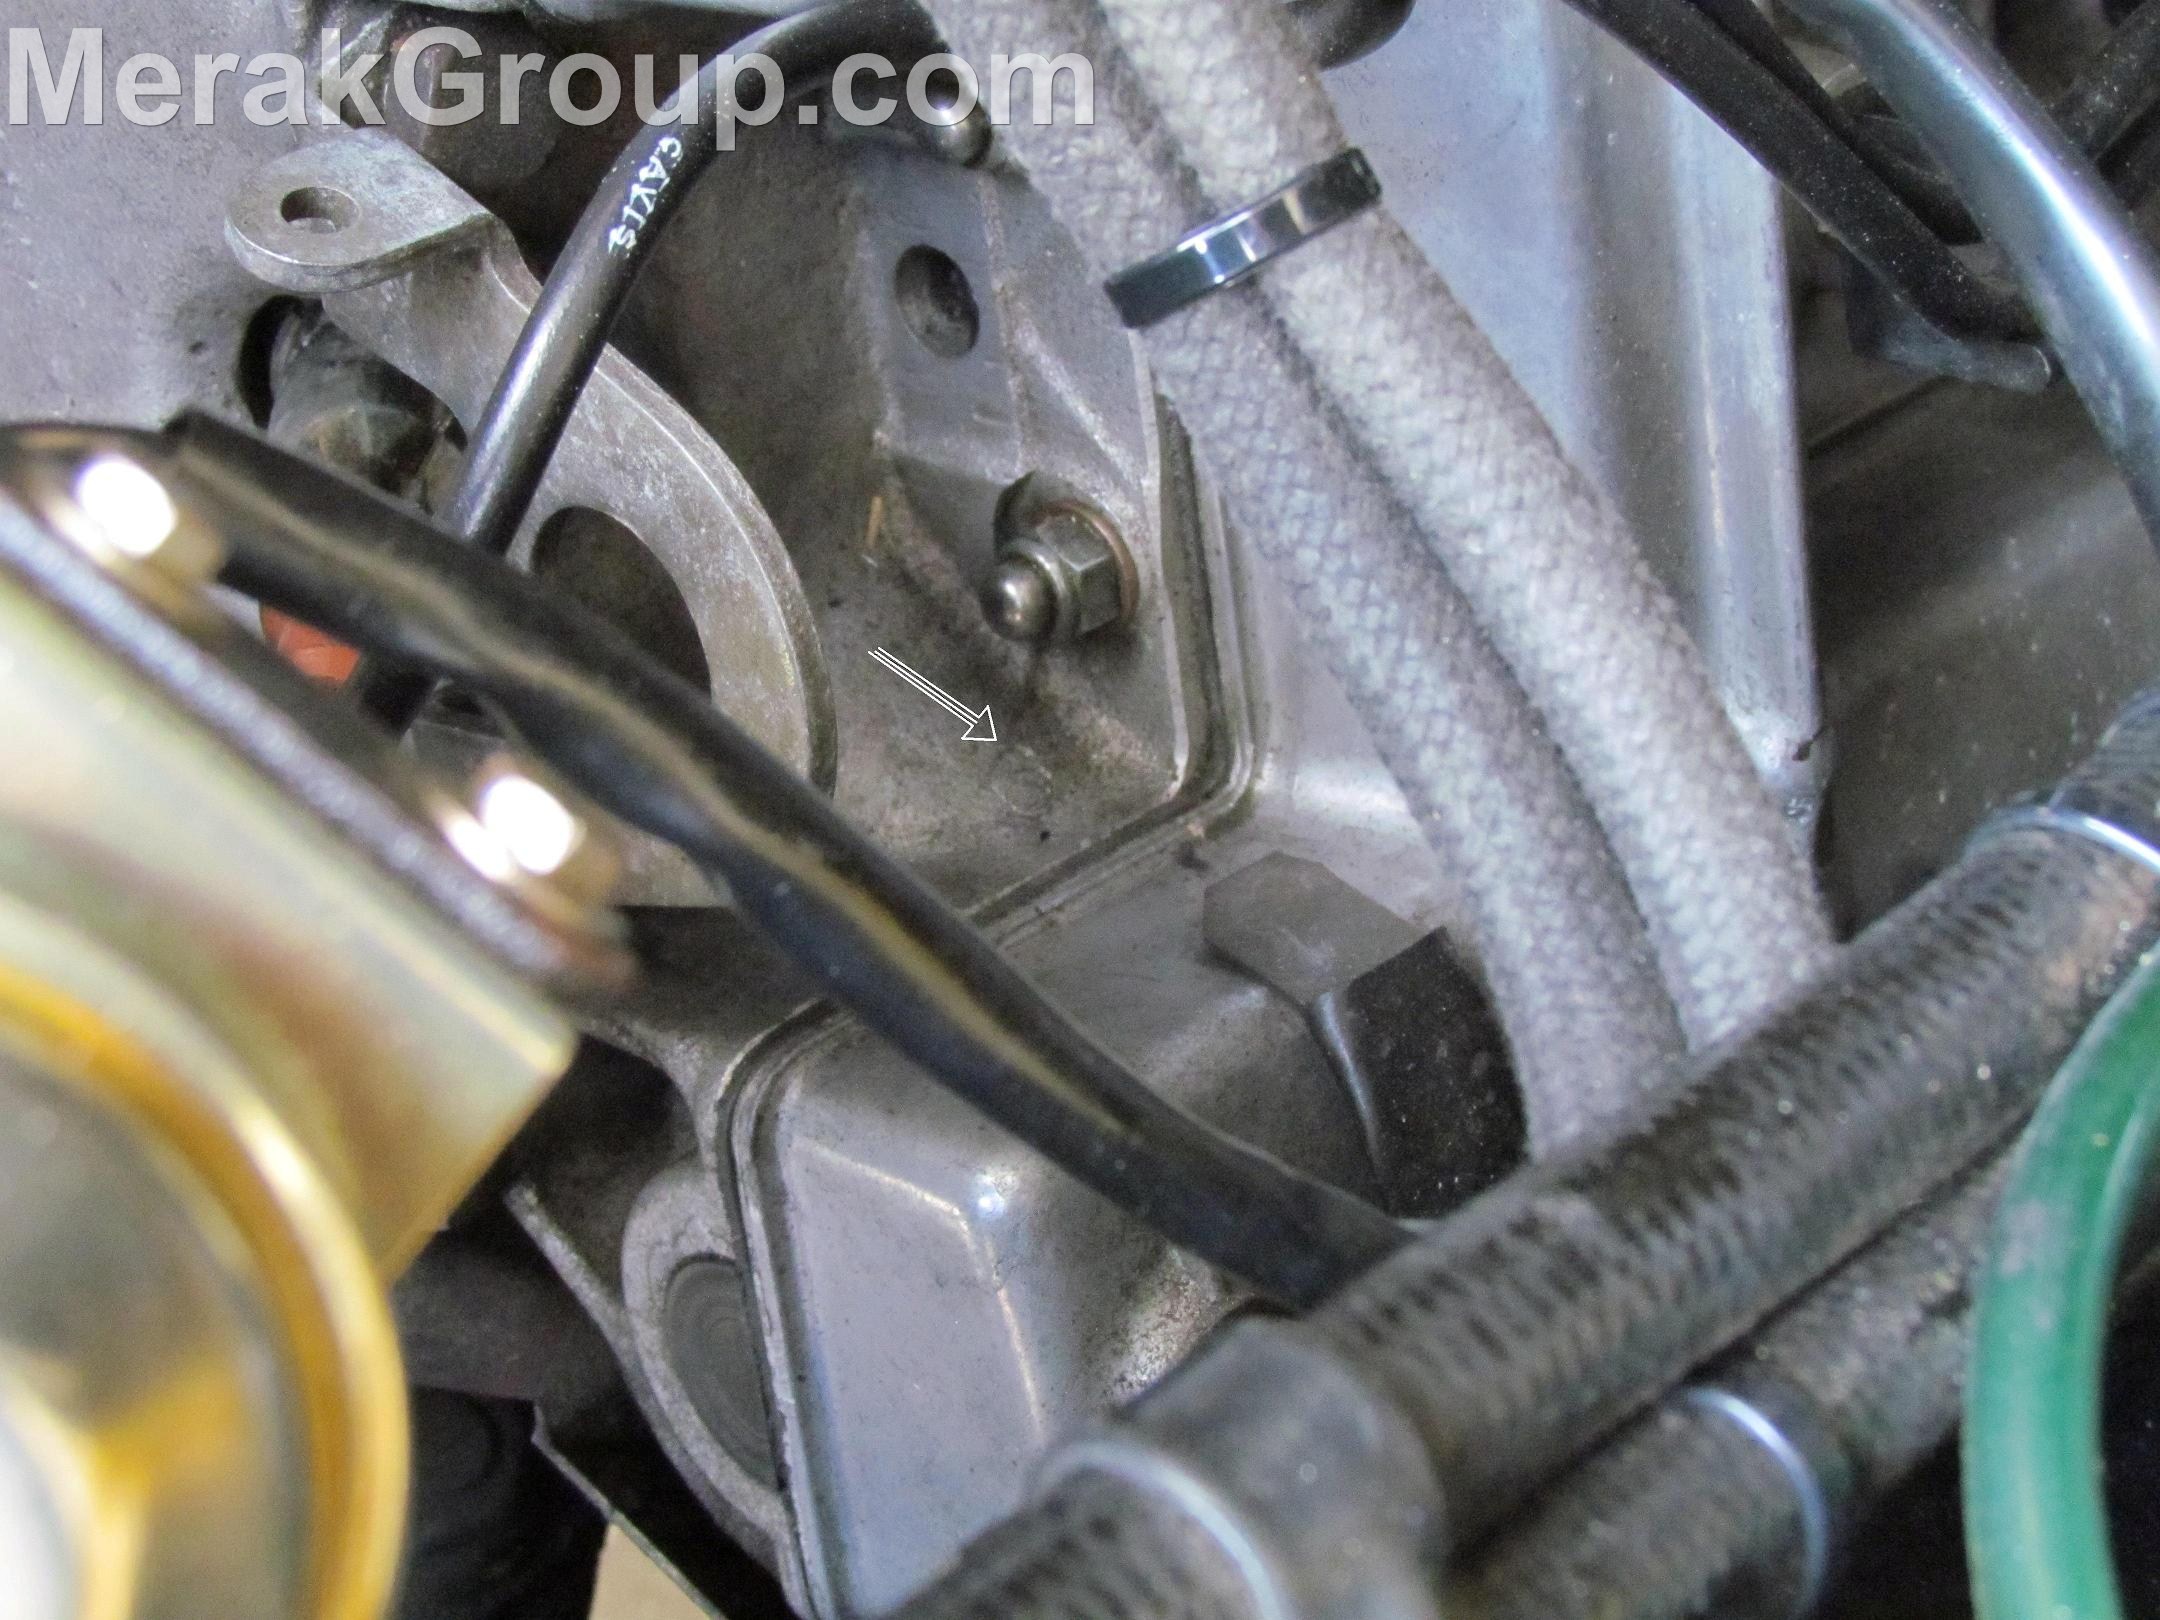
Rotate the engine manually till the following things occur. PMH [TDC] is visible through the viewing hole of the transaxle bell housing [right side]. Most importantly, the long scribe mark on the camshaft at cylinder #1 must line up with the stamped mark on the camshaft cap as indicated in the photo.
Once all these items have been satisfied, tighten up the chain. Loosen both of the 13 mm locking nuts and use the 8 mm hex to tighten. These are located on the front of A-Bank. The same arrangement is easily seen on the backside of B-Bank, as shown in the three picture tightening sequence.
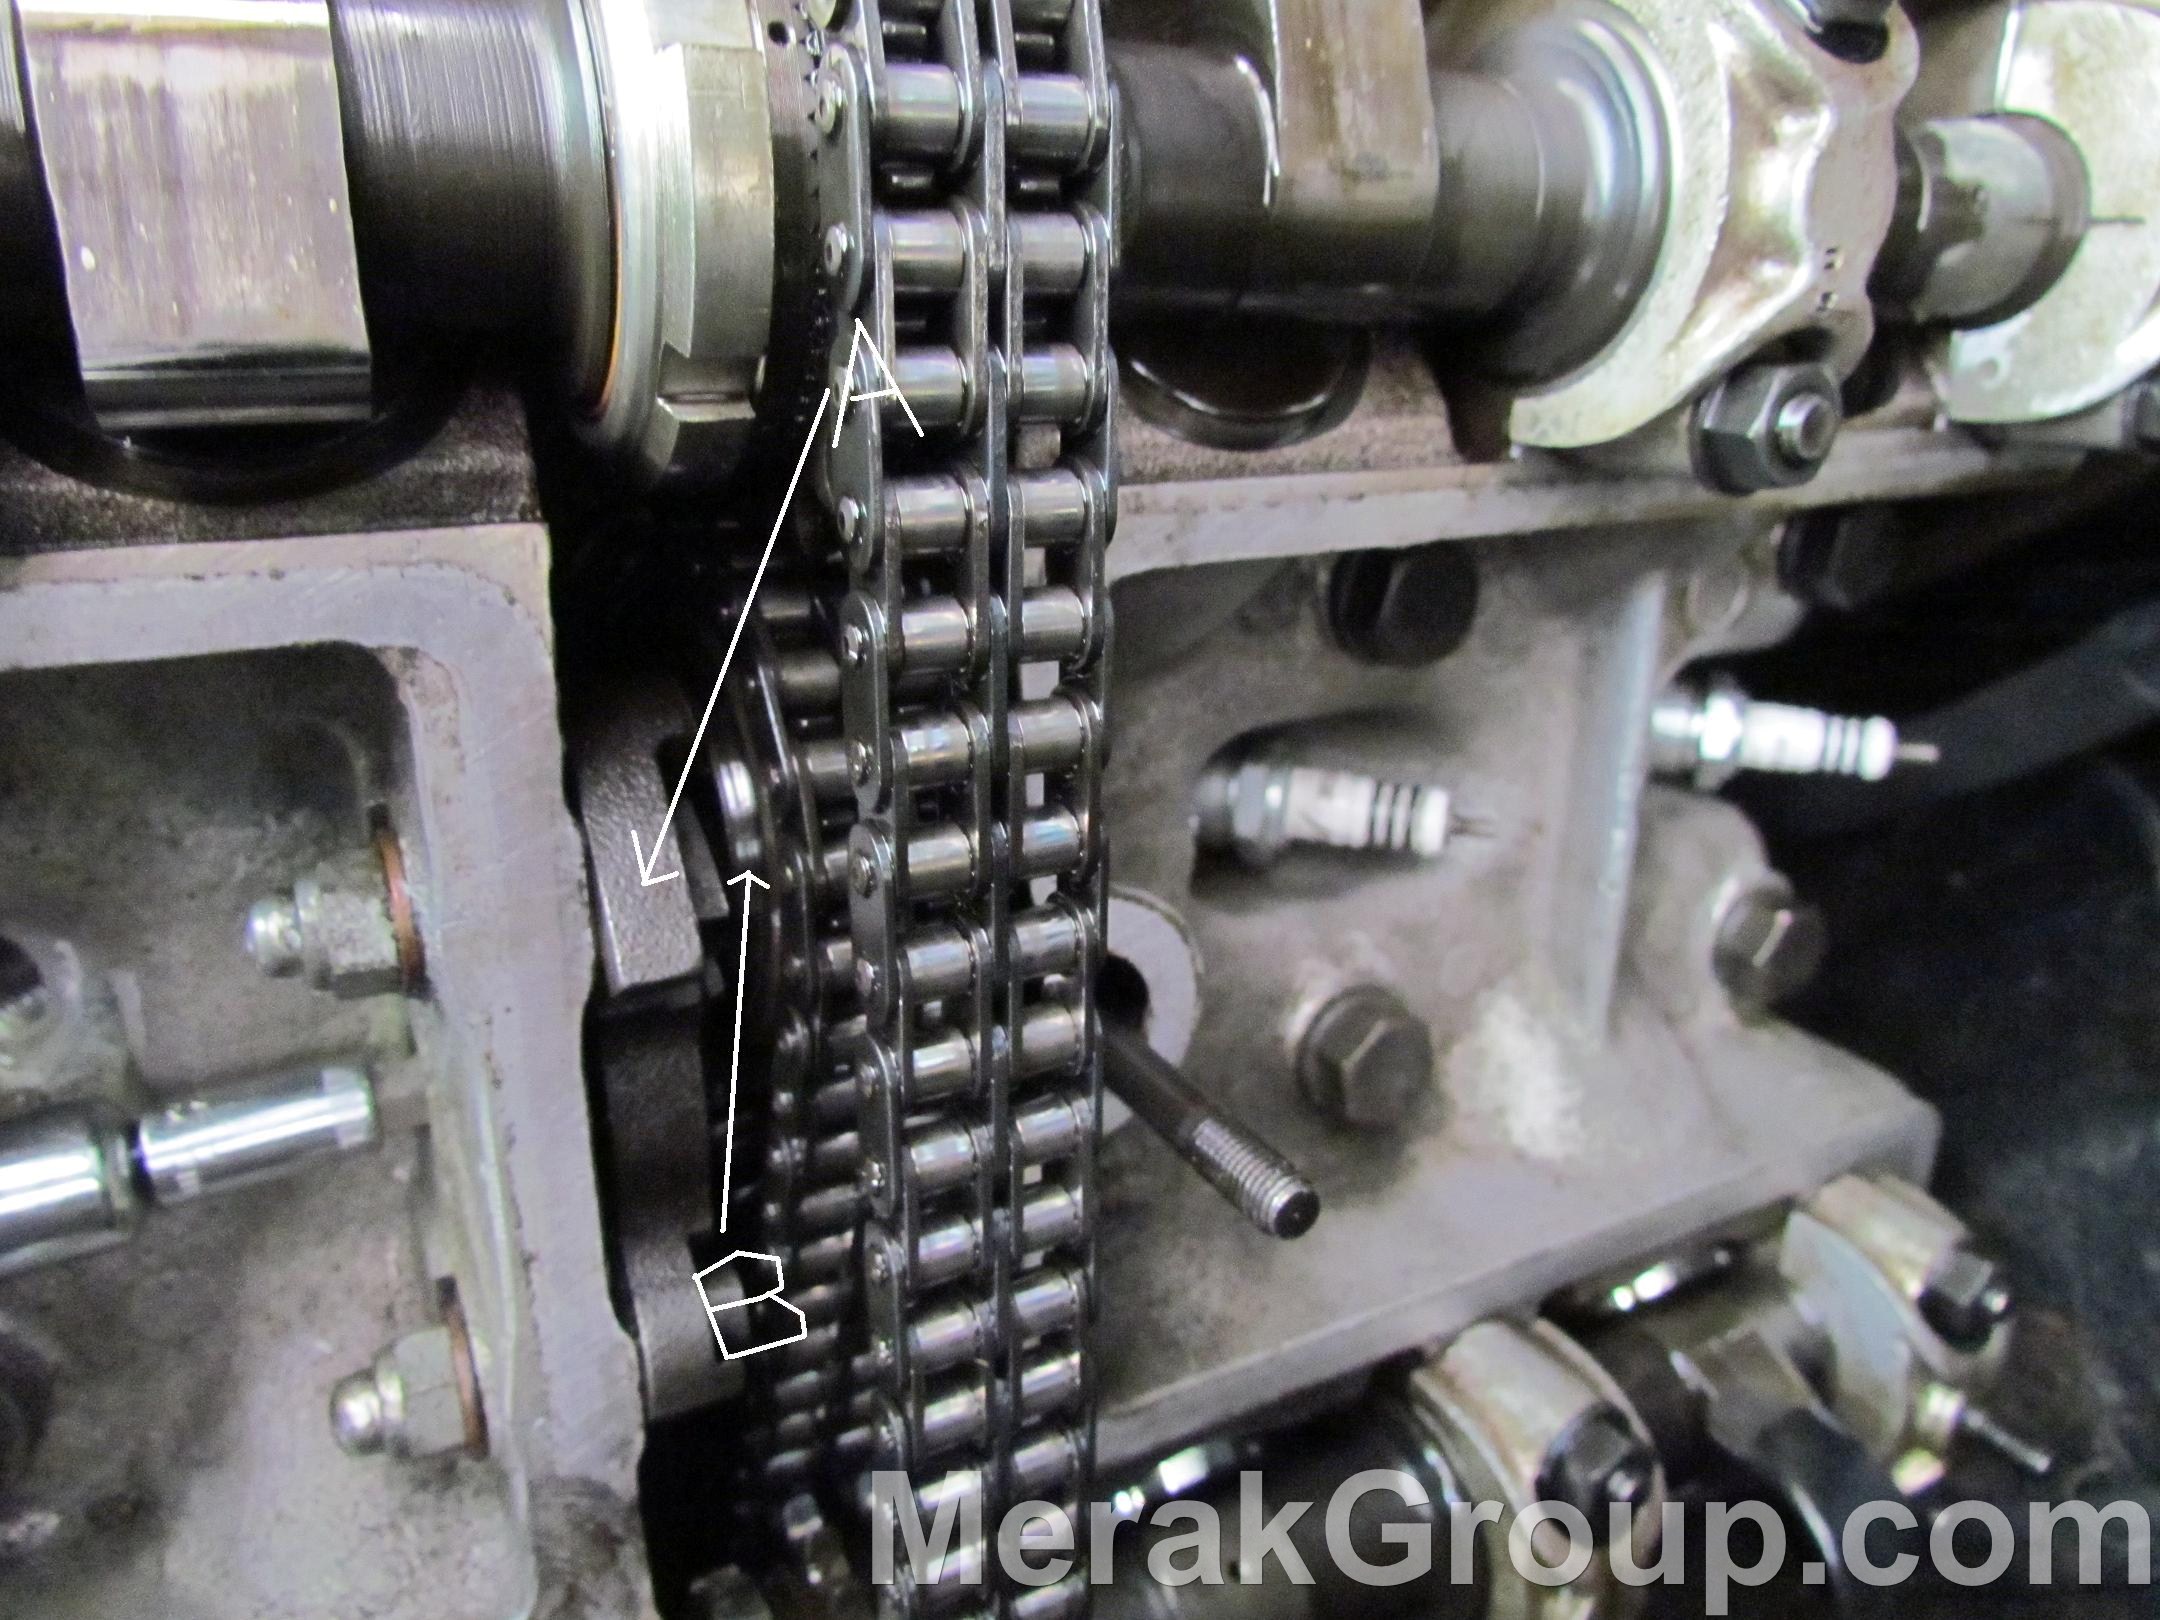

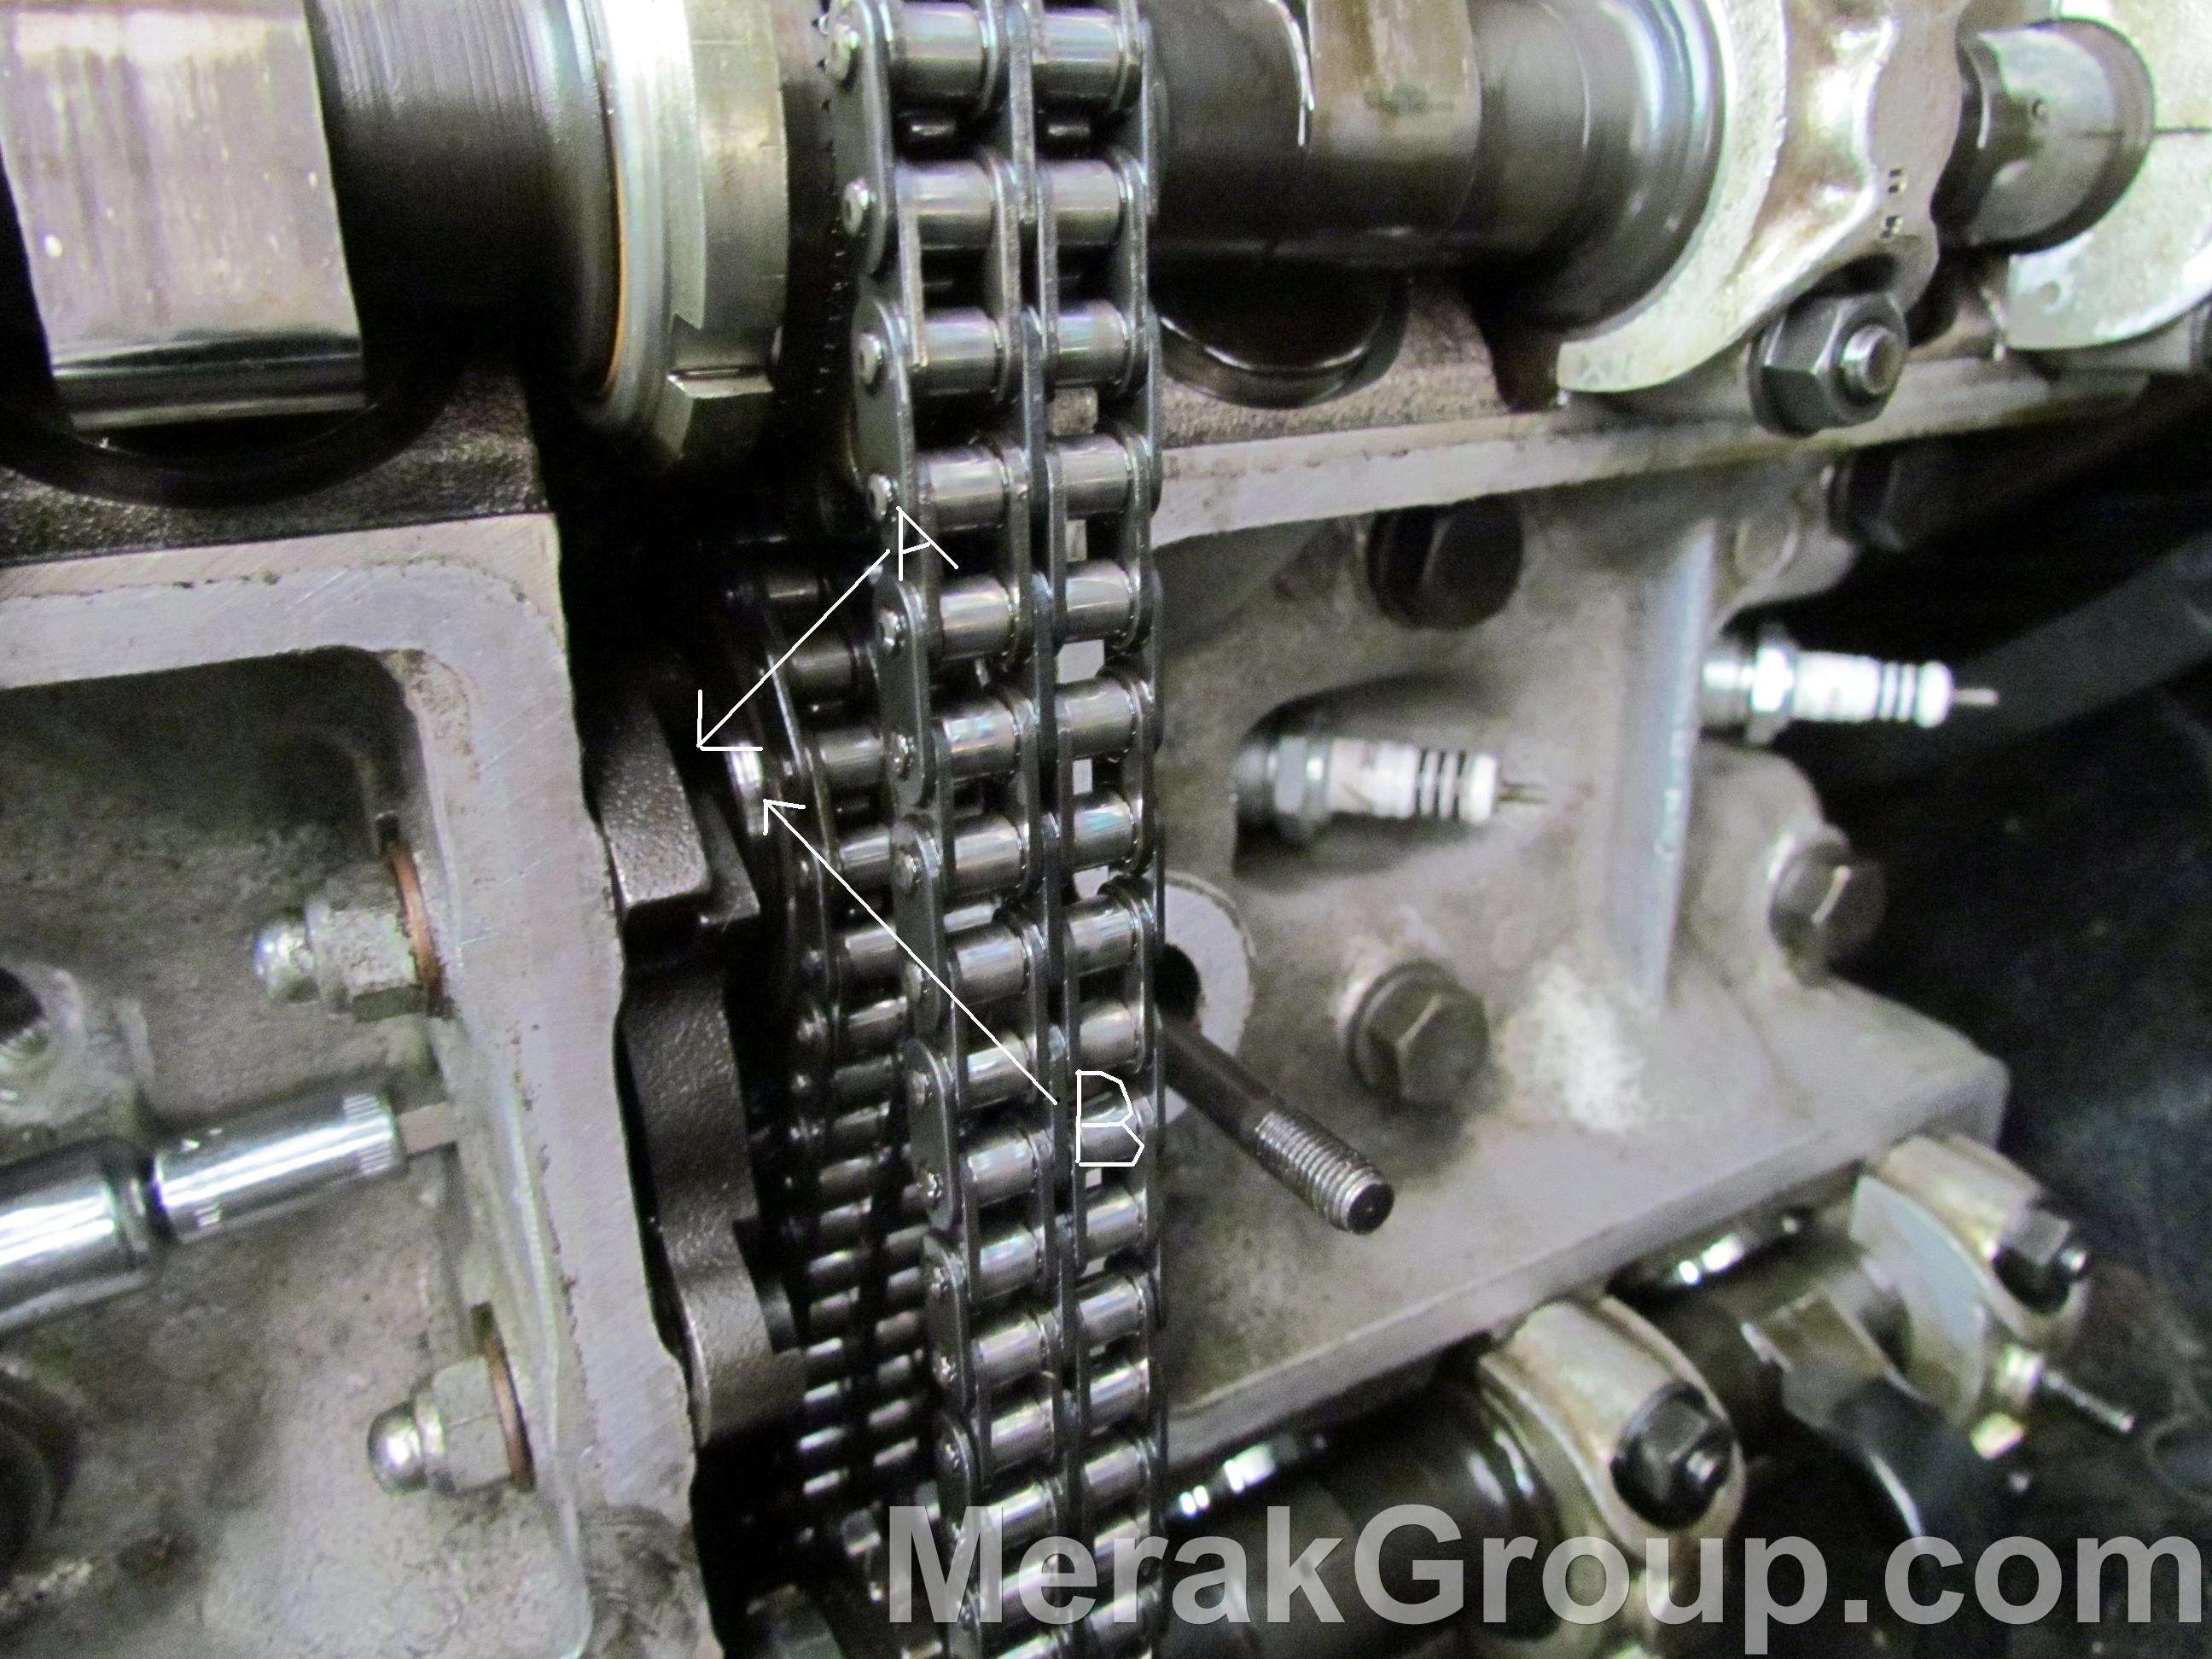
Tighten to approx 15 ft lbs. with the hex extension. Keeping the tension on the chain, tighten the 2 locking nuts. If the tensioner does not exert any force on the chain, then the chain has stretched beyond the tensioner range and the chain requires replacement. The following photos show the approximate deflection range of the chain after tightening. Note that in the tensioning lever [marked as A in the above photos] is at its fullest extension range. This means the chains have reached their fullest stretch and will need to be replaced in approximately 10 K miles. The last step for the A-Bank procedure is to rotate the engine two complete revolutions by hand after you are done to make sure nothing shifted. If something slipped the starter is often strong enought to bend a valve, but you will feel it turning by hand.


The car will now need to be lowered and the engine retilted so as to install the cam cover. It may be unwise to tilt the left side of the engine with the right rear wheel off the ground, so it is advised that all 4 wheels are firmly on the ground before tilting the engine.
Repeat this procedure for Bank-B [cylinders 4-5-6]. As per the firing order, #6 cylinder fires directly after #1. As the rear right wheel is manually rotated clockwise, , the long scribe [ignore the short scribe mark] will be in alignment with the stamped line mark of the camshaft cap. This is the point at which the chain for B-Bank is tightened.
As indicated in the previous 3 photo sequence, this particular chain is approaching the end of its life cycle. With 30K miles logged on the engine, this original chain at most has a possible 10K miles of use left before it needs to be replaced with a modern chain. Note in the three picture sequence how the tightening process moves the tensioner [lower pivot arm] outward and causes it to exert force on the inside chain tier.
Place the camshaft covers back and tighten the nuts to 7-8.5 ft lbs. For the camshaft cover nuts where there is not enough access for a torque wrench you can use crows feet spanner (with appropriate correction on the torque).
Additional things to think about.
The clips for all cam cover bolts caps were removed. This allows for complete removal of the bolt caps from the camshaft covers. This was also a good time to polish the originally yellow zinc chromate bolt caps and powder coat with a translucent gold color for a carefree maintenance original looking finish.
For those who do not have all the special tools for proper engine timing, the marks are fairly correct and you can trust them for the average engine performance.
Ciao,
Merak Group
The content of this document/site are copyrighted by Merak Group LLC
2013. Parts of the content are copyrighted by their respective owners.
Not affiliated with Maserati S.p.A.